
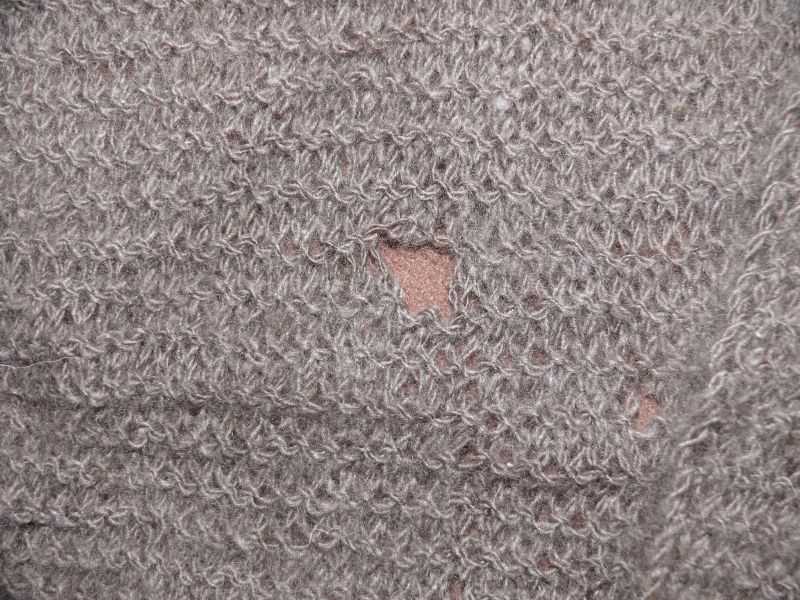
First up we have the original portrait of Ms. Bisabuela. Note the holes, smudges, and wear/aging of the photographed painting, as if a team of moths went to town on the painting. The top right edge has white space, as if it was cut off by the scanner. The overall color of the portrait is lifeless and muted with the little details barely visible, if at all.

Anyway, I got rid of the holes, smudges, and stains. Plugging the holes is a simple task with the Clone Stamp tool. However, if you're a picky about texture and overall feel, you'd want to go over with the Healing Brush tool. The differences are subtle but well worth it.
Next I adjusted the Levels. I again added another layer, but not a duplication. If you go through Layers off the top bar, you'll see New Adjustment Layer. From there select the Levels option. You'll see a Histogram somewhere (depends if you're on CS3 or 4). You're goal is to adjust each channel (RGB for example) and try to have as much information (black filled graph) between the two tabs on the bottom. After you're all done, it should look like the original graph, but more going more towards the two ends and a bit jagged.
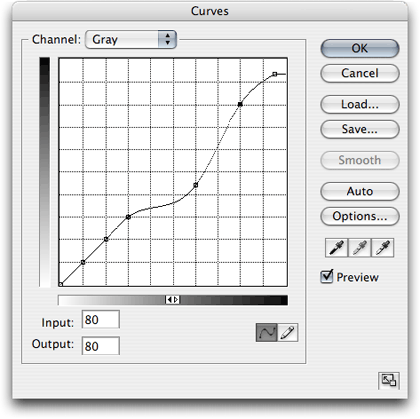
Next up is another adjustment layer called Curves. Add that layer and you'll see a new window that has a line and another graph like setting. You can play with the line and get certain effects. Or you can use the black, gray, and white droppers to achieve the color you want. Use the black dropper on what should be your blacks, gray dropper on grays, etc. You'll notice more lines appear in the main graph box. Keep sampling different areas to get the color you want.
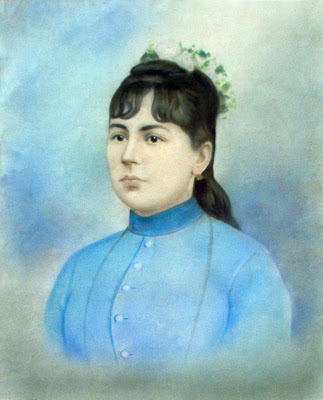
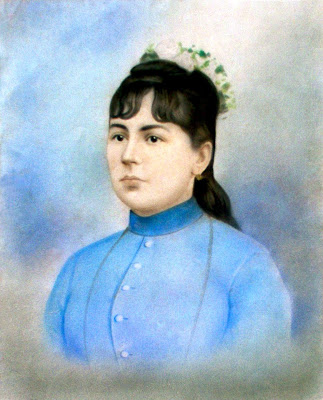
From here on out, you're more or less done. You can add other effects or layers to enhance the image (I added slight adjustment to contrast and brightness). I added a bit of "makeup" for Ms. Bisabuela to make her look younger.

I'm sure there's a videos and tutorials out there. Go play.